


News Archive entries for January 2020
Here are the diary entries for this month. You can use the forward and backward links to see the next or previous months. Most photos taken before 2018 are small size. From 2018 onwards, most photos you see below will have a link to a full size image by clicking on the photo.
 |
Previous Month |  |
Return to 2020 | Next Month |  |
| Small Parts | |
| 13/01/2020 | |
 |
|
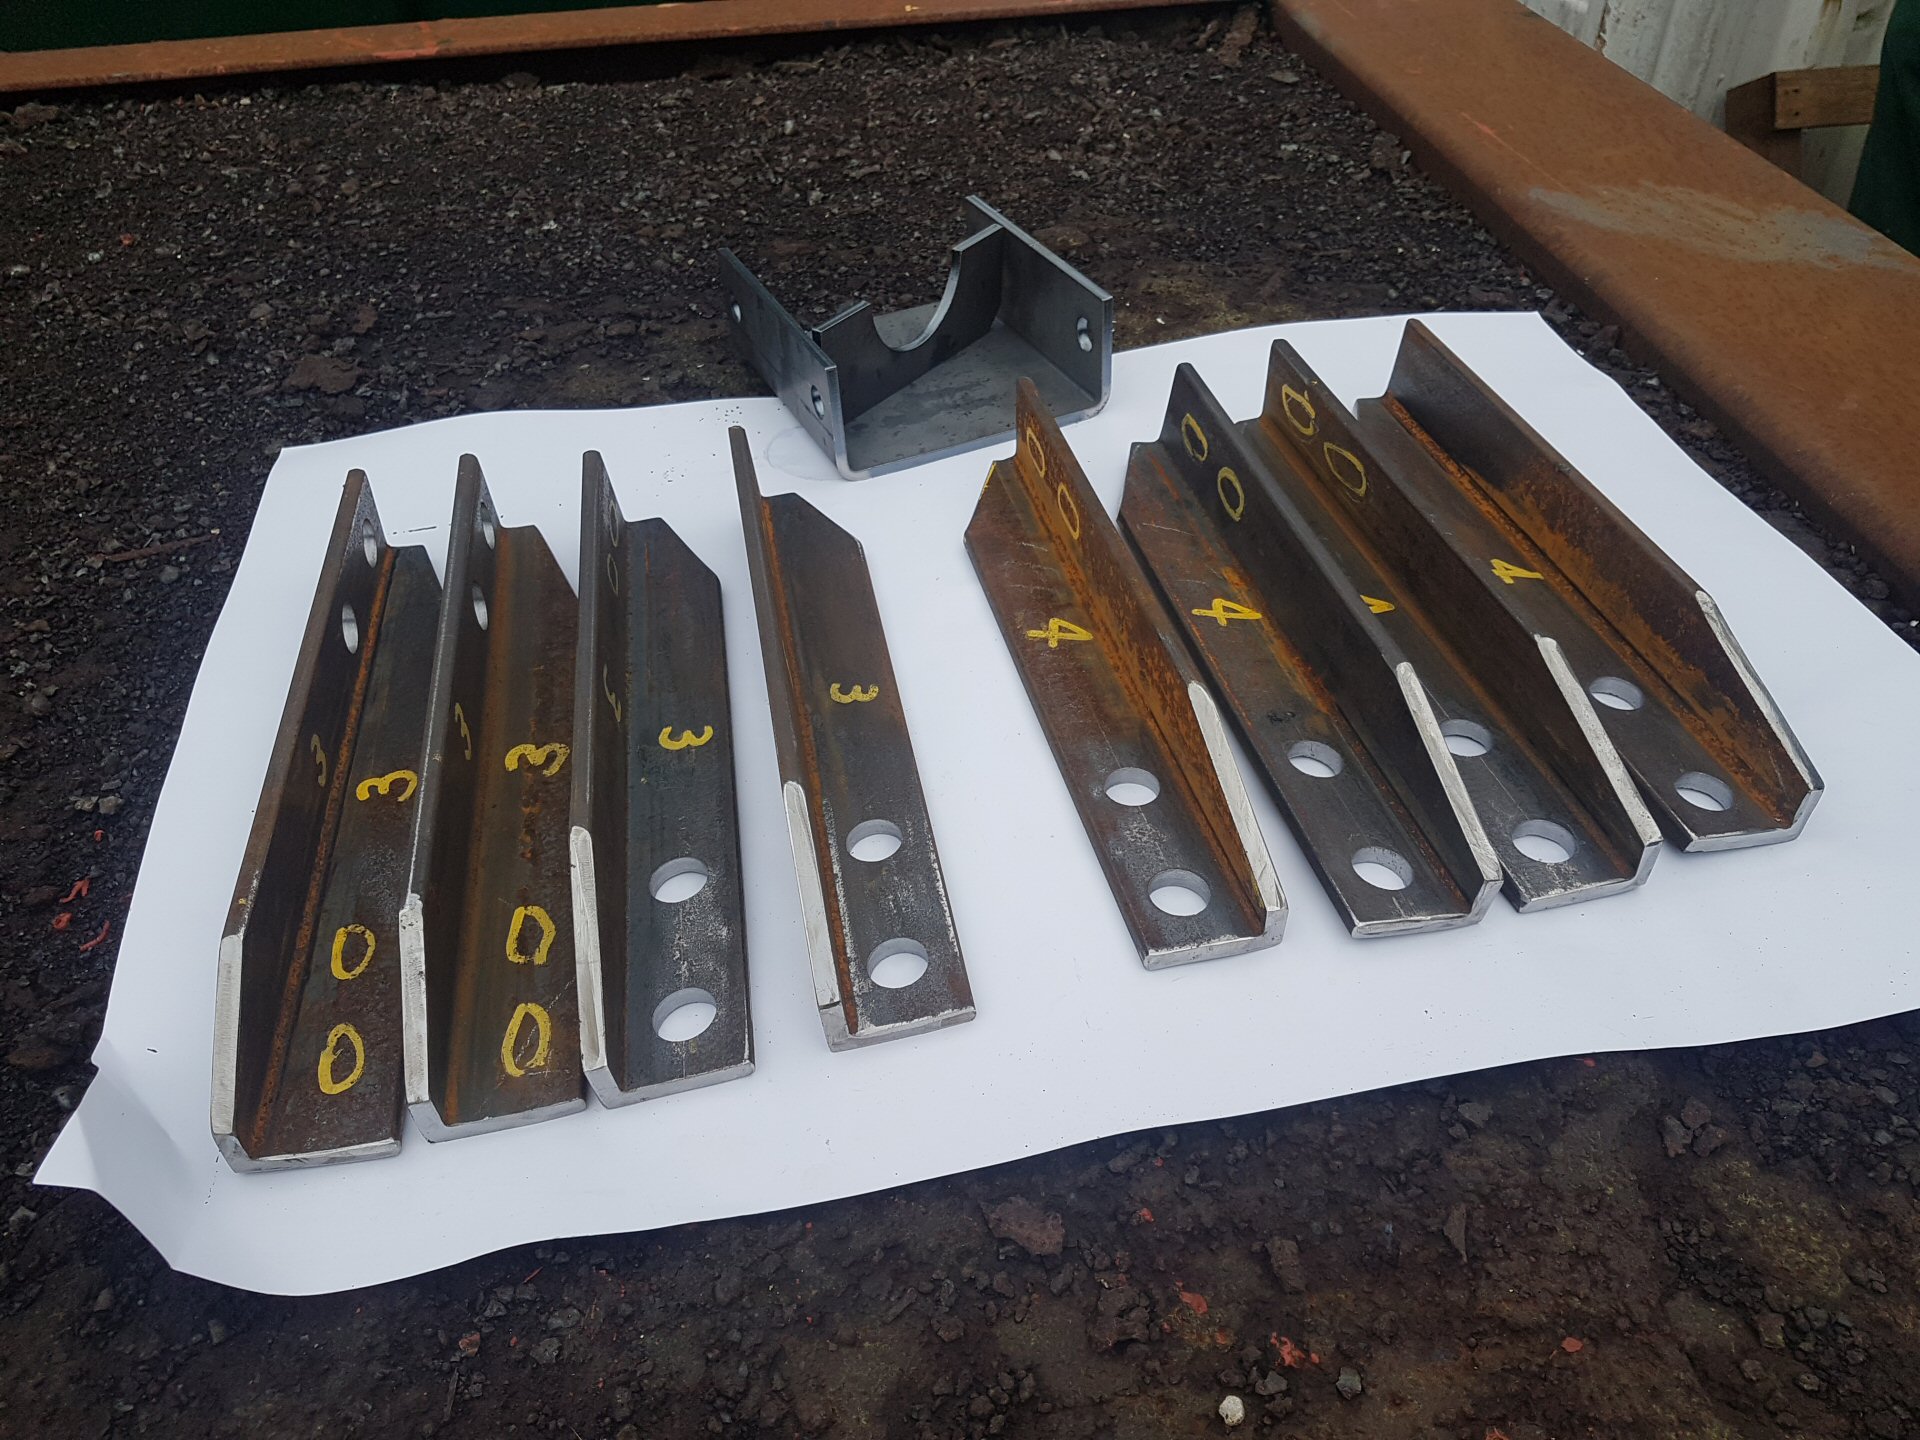
| A small parts update. The 8 angle section strips are the sandpipe stays. Hengist has a forward direction sander on each of the 6 driving wheels. In addition, the centre driving wheel has a rear direction sander. These stays are bolted to the sides of the spring hanger "feet". Adjustable slots still need to be drilled to take the sandpipe carrier. A locking plate with a serrated edge also needs to be welded to the stays - this and the slots allows the vertical position of the sandpipe carrier to be adjusted. The bracket at the top of the page is to secure the vacuum train pipe to the top of one of the stretchers. This supports the pipe going from the driver's brake valve to the front buffer beam where it crosses from the left side of the frames to the right hand side. The part with the semi circular hole needs to be welded into the U bracket as a support. |
|
| Front Tender Steps | |
| 13/01/2020 | |
 |
|
| The "commode" handles (yes - that's what they are called on the BR drawing) have been welded onto the front tender steps. No time was wasted by Ashley as immediately after the steps went onto the shelves and this photo taken, a coat of primer was applied to the handles and the weld areas. We still need to apply the "dimples" to the step plates. In BR days the dimples were made by pressing through from the underneath with a sharp pointed tool. We will do the job with a blob of weld. | |
| Cab Roof Ventilators | |
| 20/01/2020 | |
 |
|
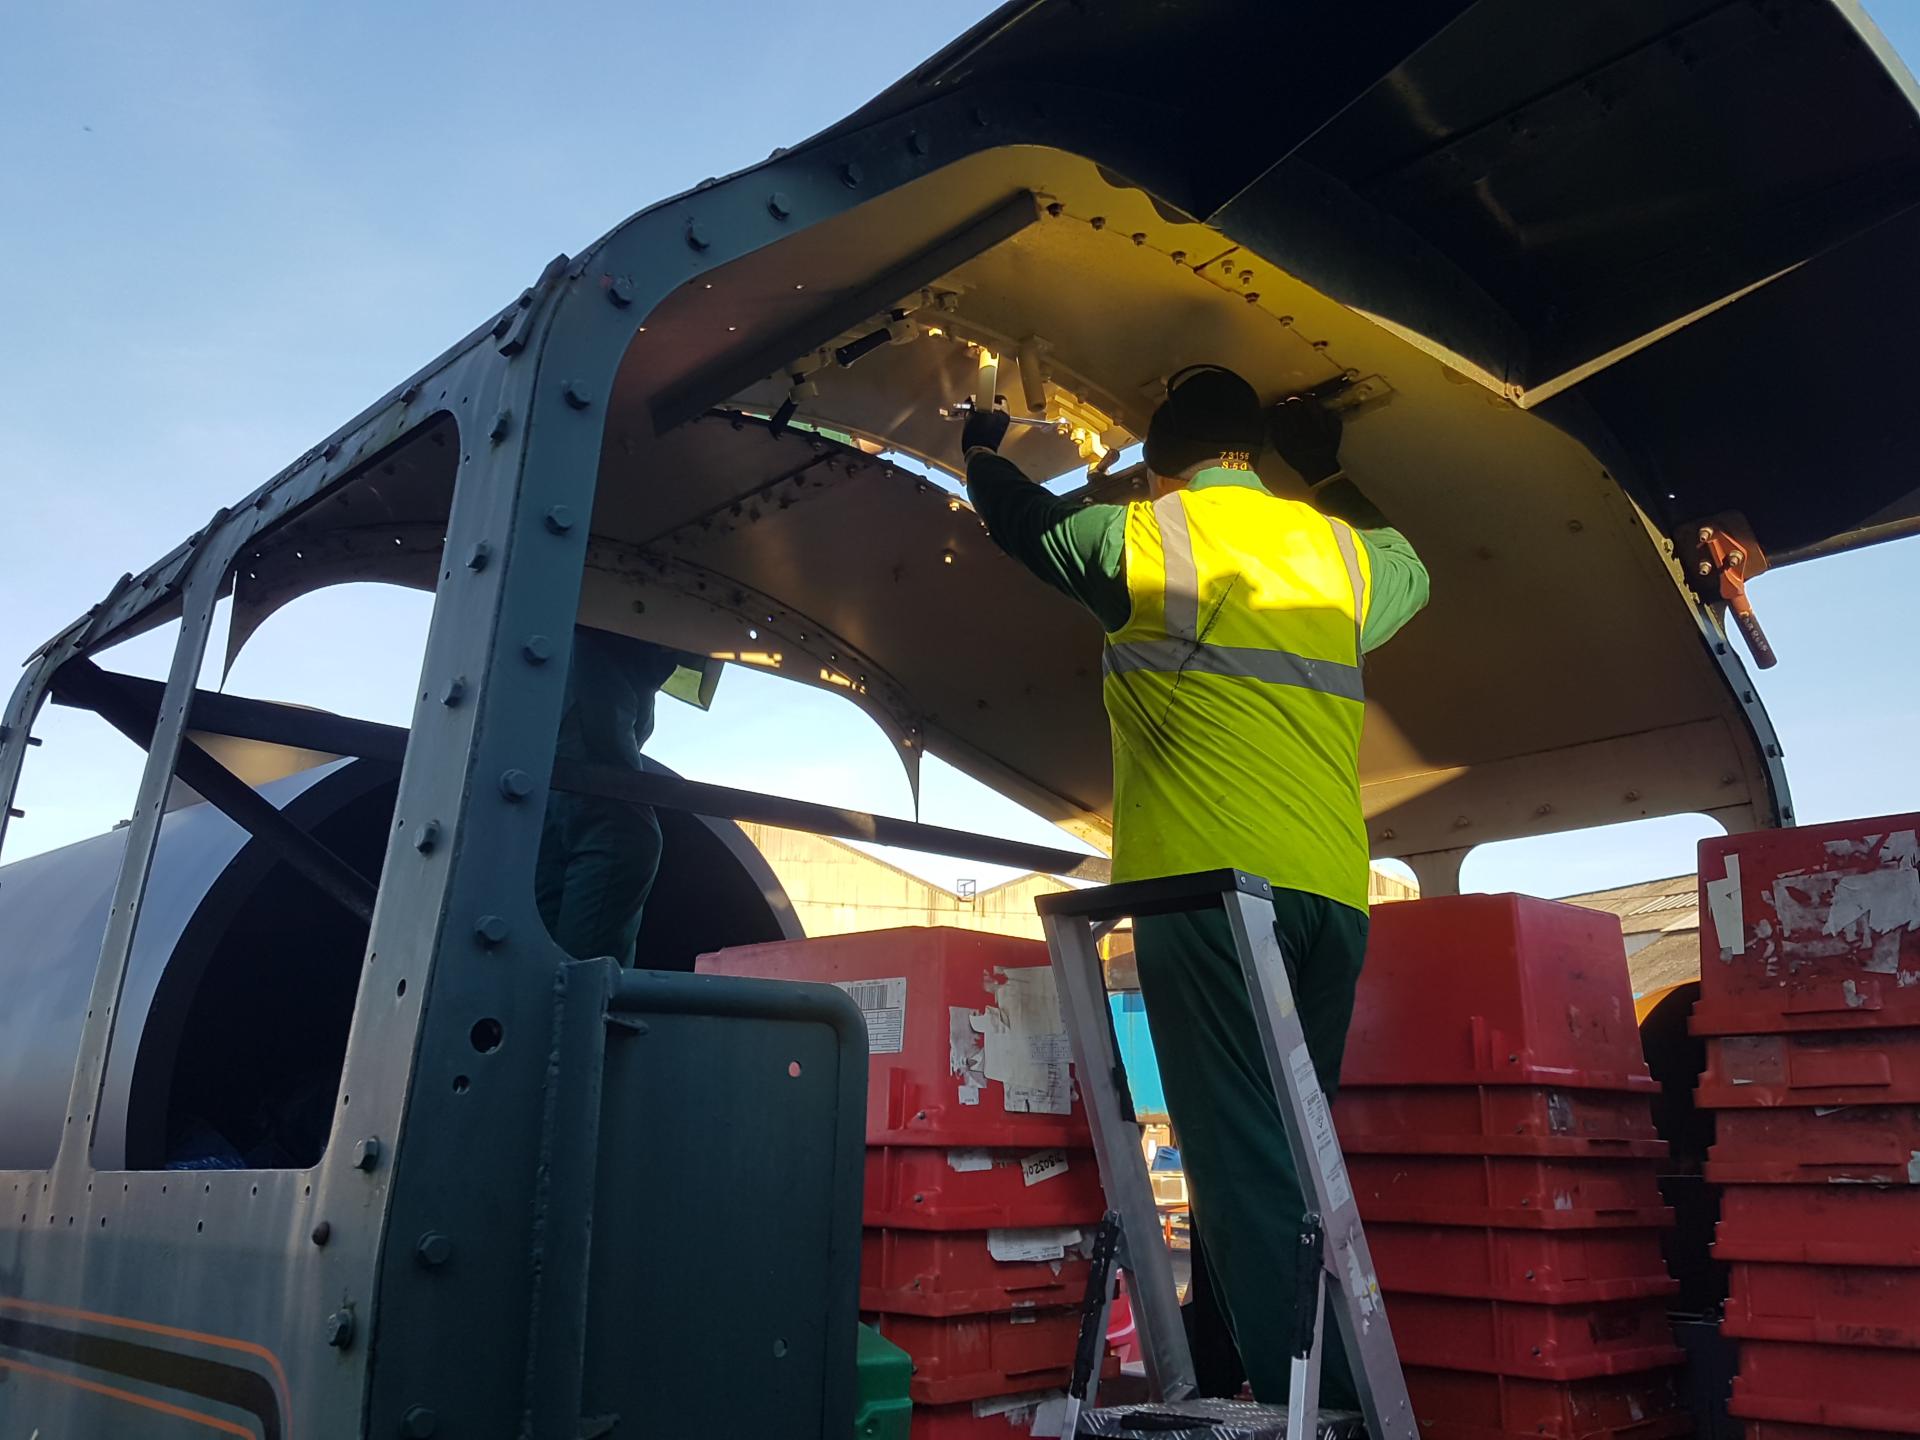
| As Ashley has finished painting the cab roof ventilators, we tought that we would but them in place to at least stop some of the rain coming in. They are pretty heavy and needed some wrestling into place. The sharp eyed amongst you will note that ordinary nuts and bolts have been used to secure parts on the edge of the opening. These will need to be replaced by flush fasteners | |