hra fb twitter
sheffield
header
Rail200

Front Bogie

First First Previous Previous uparrow Back to Index        
118 records found. Page 12 of 12 displayed.

For most of the photos on this page, you can click the image for a larger picture.

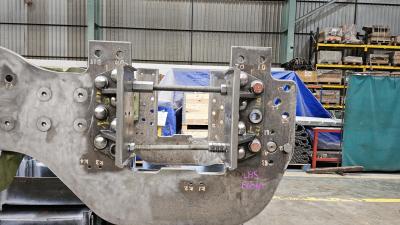
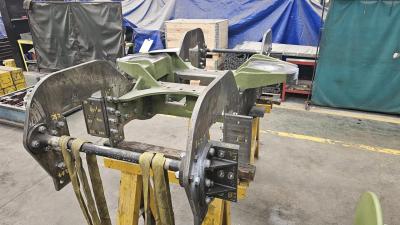
Highslide JS Threaded bar and nuts are used to jack the axlebox guides firmly into position while drilling/reaming takes place. If you look carefully you can see that the inner guide top 2 bolt heads (bogie is upside down!) are countersunk head to avoid fouling the bogie spring cradle.
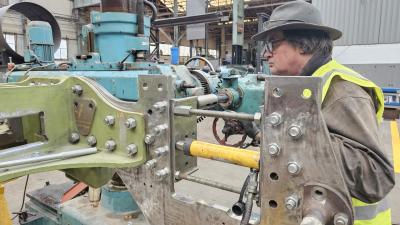
Highslide JS In this instance, Mike has used an Enerpac hydraulic jack to provide additional assurance that the axlebox guides are firmly in place.
Highslide JS A critical job on the bogie is to get the right clearance between the axlebox guides and the axlebox on the wheelsets. Here John has been marking up the liner with dimensions.
Highslide JS September 2024

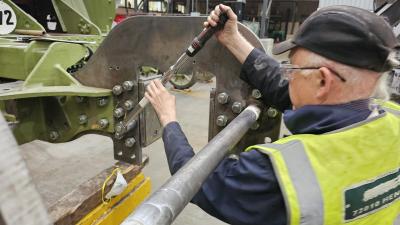
The fitted bolts for the axlebox guides have been driven in and Philidas nuts added. John is at work with the torque wrench ensuring that the nuts are tightened to the correct setting.
Highslide JS January 2025

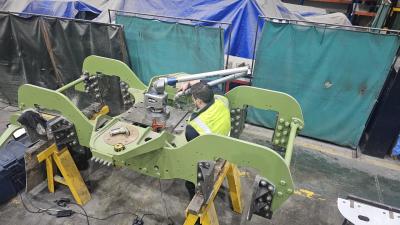
In early 2025 we arranged with CTL Seal for a full dimensional check of the bogie. Here is CTL Seal's quality inspector at work with the Faro arm.
Highslide JS February 2025

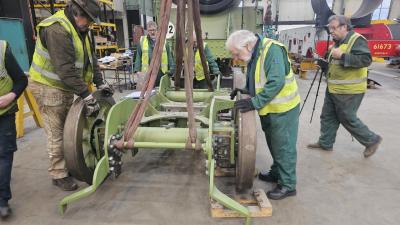
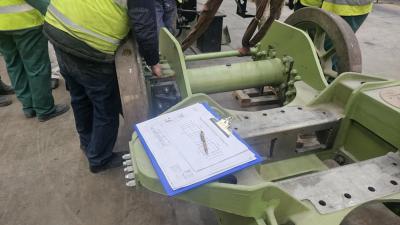
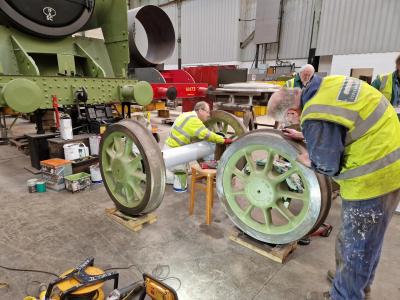
As the liners have been fitted (temporarily) to the axlebox guides, we wanted to check that the axleboxes would not jam in the axlebox guides. The frame was lifted with the overhead crane and then carefully lowered onto the wheelsets. The tests showed that the frame could be raised and lowered and did not jam on the axleboxes.
Highslide JS John could then get out his extra long feeler gauges and check that we had the correct clearances.
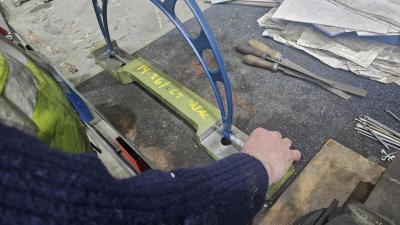
Highslide JS Another dimensional check is to measure the bogie frame keeps. Here we have borrowed one of CTL Seal's large micrometers.
First First Previous Previous uparrow Back to Index        
118 records found. Page 12 of 12 displayed.